Socialize
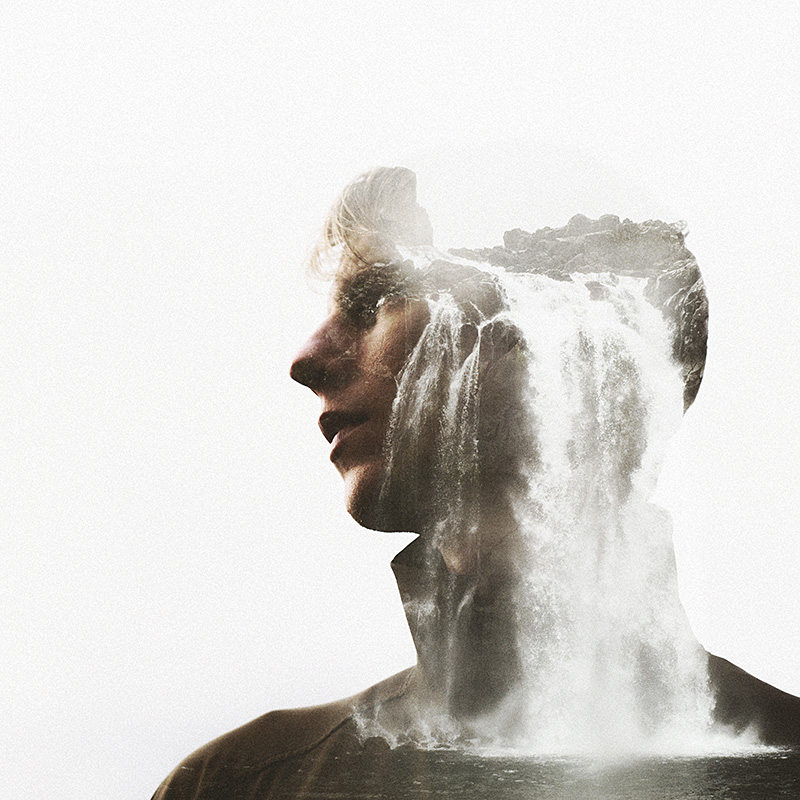
If you’re anything like me, there’s a certain level of wariness that comes with the commitment of a double exposure. It’s bad enough that I hoard frames on film until months go by before I finish a roll. You don’t even want to know how much I think, and mull, and think some more when double exposures are involved.
After I take that first frame there’s always a day that goes by where I think, “Well, I like this shot so much. Maybe I’ll double expose something else…” I can’t count how many pictures I’ve taken that originally started out with the intention of layering another photo on top of it. But I wuss out. Almost always.
And then there was Photoshop.
The tutorial below will show you the incredibly quick and easy steps to making double exposures in Photoshop. You’ll be combining photos together to get all the fun of experimentation without all that nasty commitment and weeks of self-doubt. Though it’s all done on the computer, it’s basically the digital version of sandwiching negs in the darkroom and the initial effect is near identical to what you would get were you to do multiple exposures on film.
What You Need:
- Photo editing software that will let you change the Blend Mode of your layers.
- A photo of a silhouetted figure.
- A high-contrast photo of nature, something textured, or otherwise interesting.
How It Works:
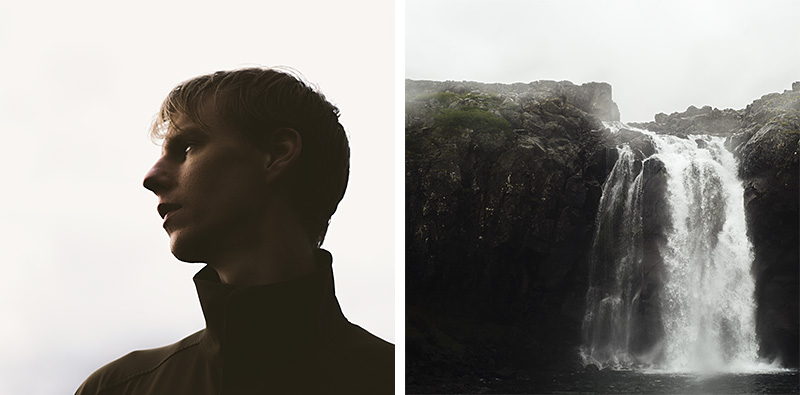
For the best results, it helps to start with an image that has a strong silhouetted figure, or lots of contrast. The dark areas will be the vehicle for what shows up when the second image is overlayed. Conversely, the lighter areas will mask out the second image’s details. The best way to do this is to take a portrait of someone standing in front of a brightly lit background — overcast days are perfect for this!
I had a feeling that a picture of a waterfall might look interesting when laid on top of a silhouette of Chris. Both of these images were first edited in Adobe Camera RAW with VSCO Film presets. The first image, of Chris, was tweaked to make the sky brighter and his profile darker, to better help the waterfall show through later.
How To Do It:
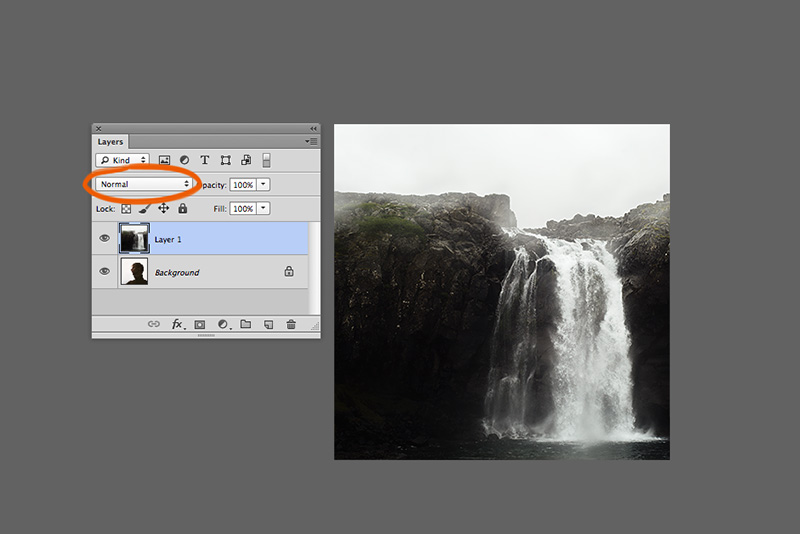
- Copy and paste one photo on top of the other. It’ll make no difference which photo is on top/bottom.
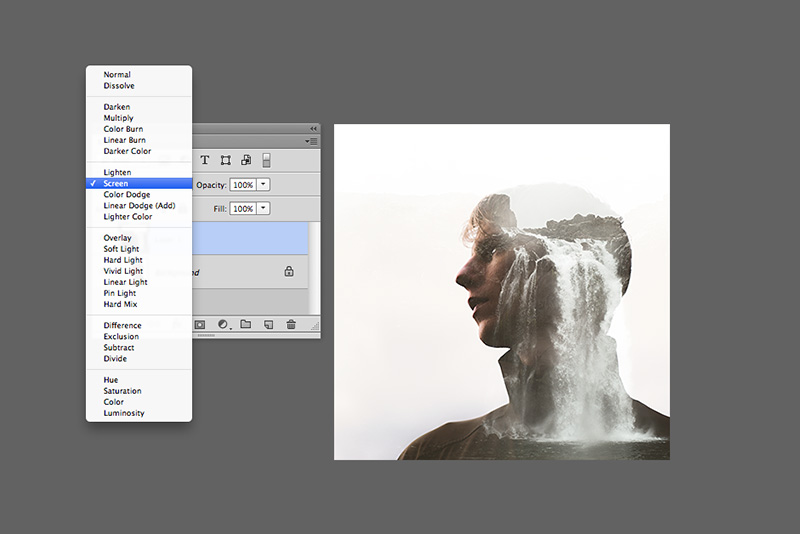
- Open up the Layers palette and change the Blend Mode of the top layer to Screen.
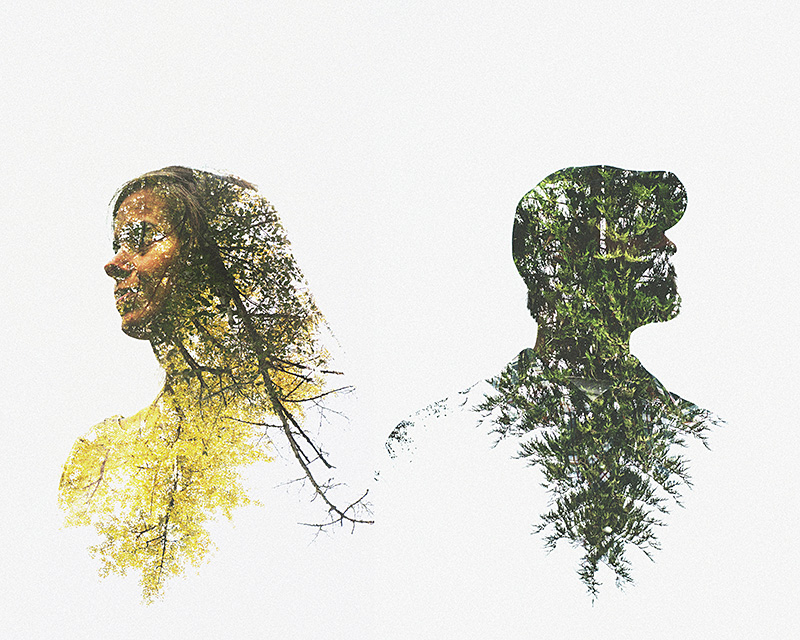
- From here you can fiddle around with the position of each layer to make the composition look more interesting. For example, when working with an image of trees I tend to flip the second frame upside down so it looks like the tree is growing out of the person.
Troubleshooting:
- If there isn’t enough contrast in the first image, you might see some ghosts of the second image after changing the blend mode. Again, white parts will conceal detail, so anything that isn’t completely white will allow some visibility from the dark parts of the other image to show through.
A quick fix for this is to open up a Curves adjustment, make a slight S-curve and increase the highlights just until those little ghosts disappear. Once it’s all said and done, I like to run one final pass through Alien Skin Exposure to add an extra dash of shazam.
- Don’t have Photoshop? You can also achieve this effect on your iThing with any photo editing app that lets you change Blend Modes, too. I use DXP which is a tad clunky, but lets you load from your camera roll or shoot straight into the app. Nice.
Have Fun!
I hope you found this tutorial helpful. Please feel free to leave a comment below if you have any questions, or if you’d like to share some creations of your own!
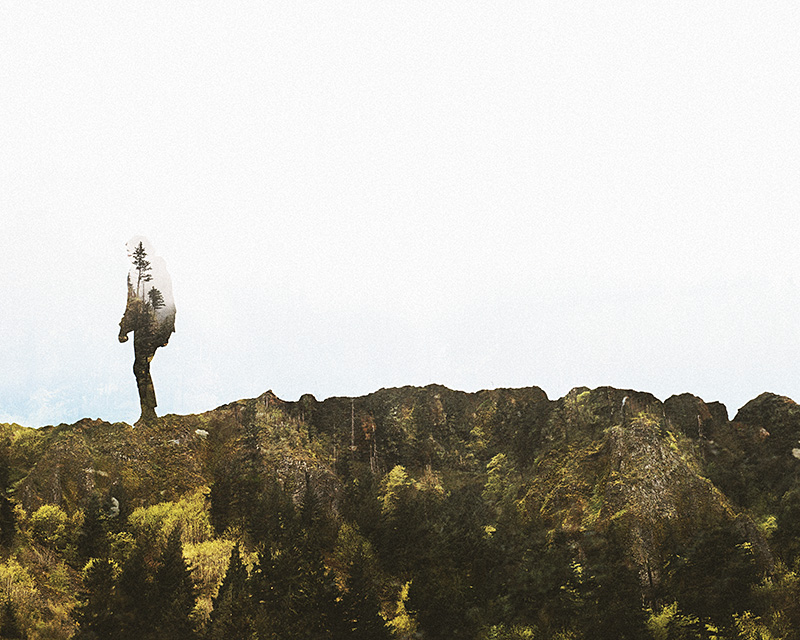
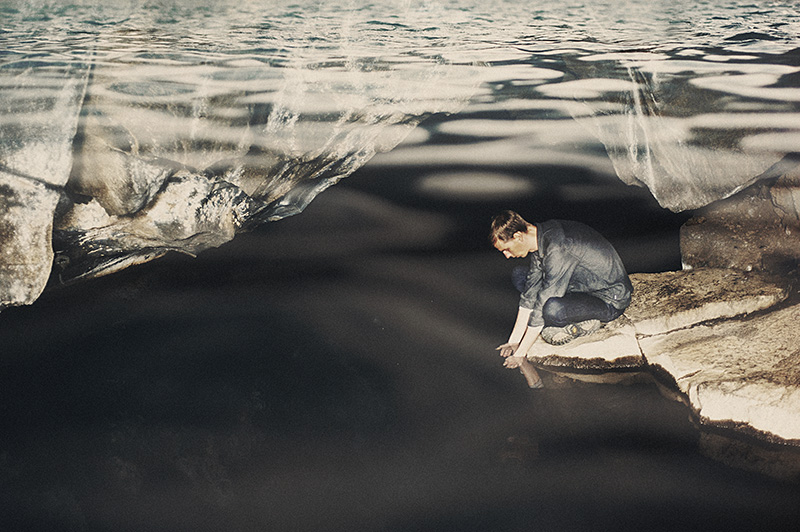
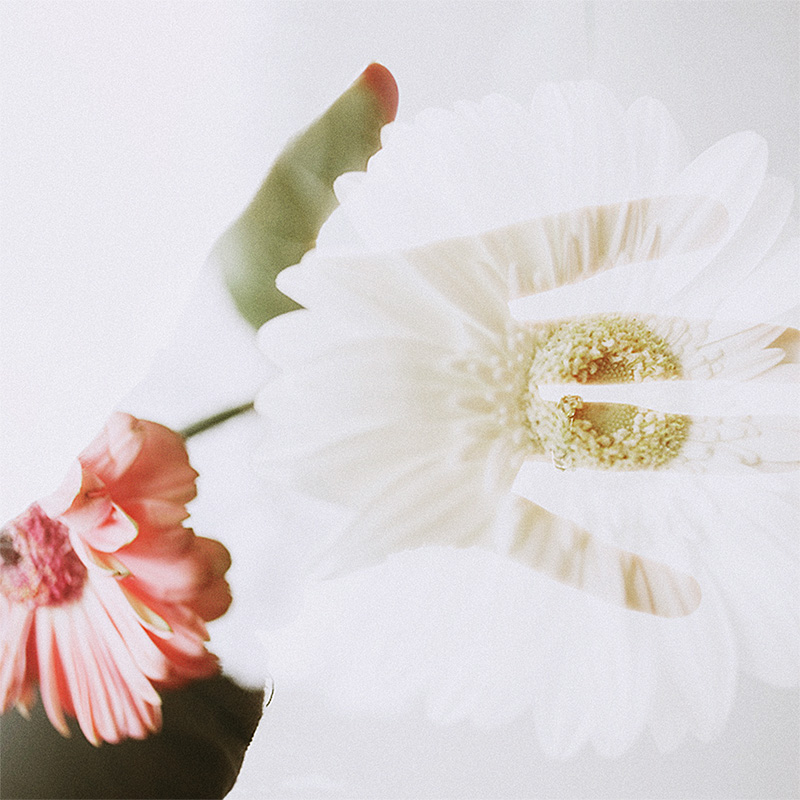
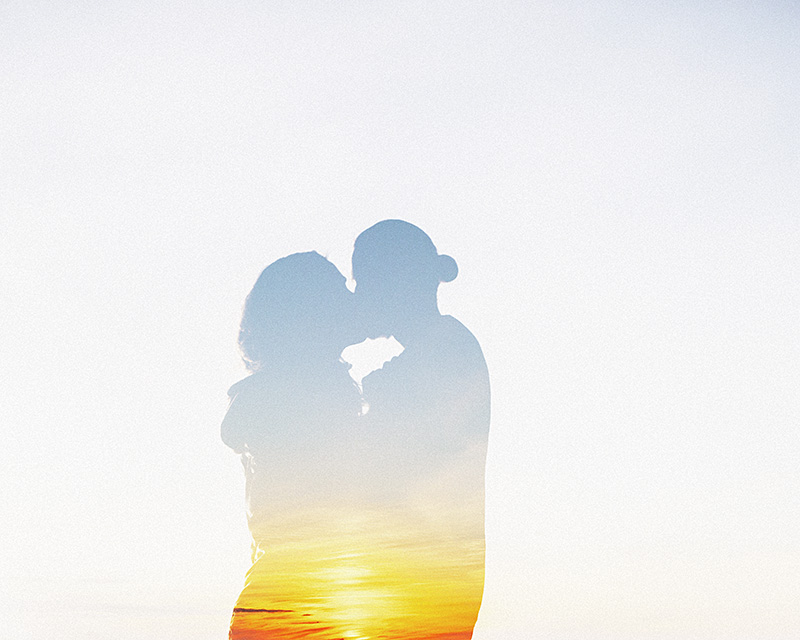
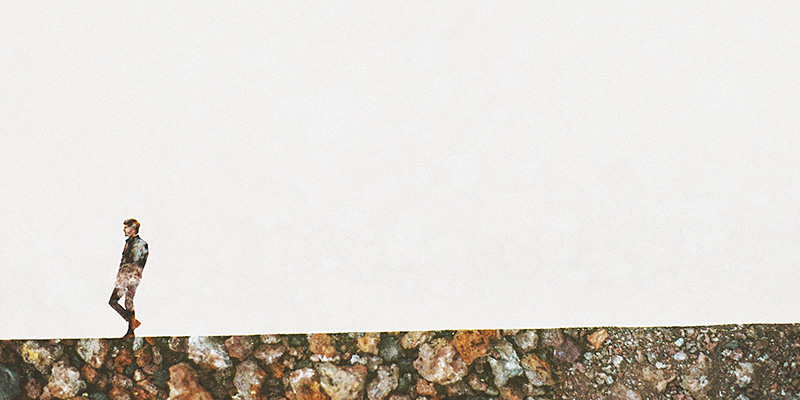
Here are just a few more examples of double exposures in Photoshop:


Thank you so much for this! Keep it up with the patiently explained tutorials.