Socialize
Sample Photos from a Time Machine
If we’re being honest here, I’m a follower, not a leader. I don’t normally become an early adopter of things, whether it’s film, camera gear, or even just a new movie that’s still in theaters. I’m perfectly happy to sit on the sidelines and let others sort things out before jumping on a bandwagon. It’s one of the reasons why it took me years to start shooting instant film, even though I had long admired the works of many Polaroid photographers.
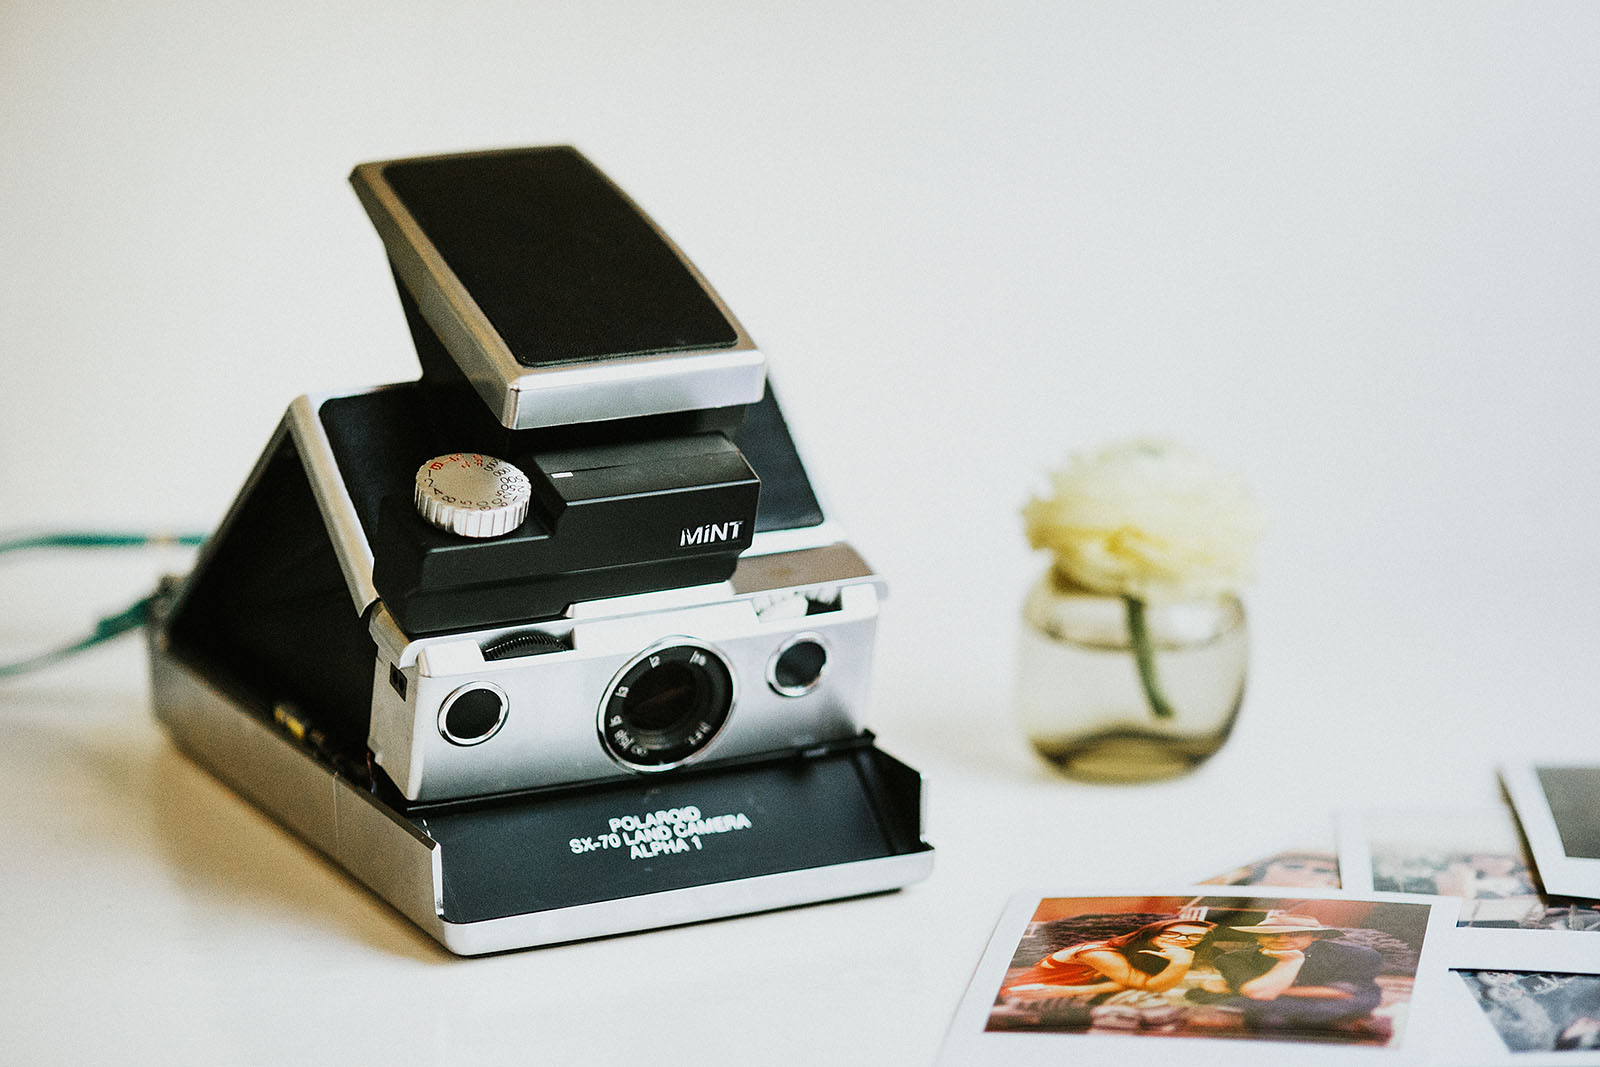
After falling down the rabbit hole and experimenting with Impossible Project film, I eventually got fed up with the guesswork involved in exposing my SX70 images — especially those surprise long exposures — and finally found a wagon worth hopping on: the SLR670m Time Machine from MiNT.
SLR670α or SLR670m?
MiNT has been hard at work providing accessories for instant shooters as well as reinventing the wheel time and again, starting with the SLR670, an SX70 body merged with an SLR680’s interior. Then they introduced the SLR670m, which has been re-circuited to allow you to control shutter speeds with a hot shoe attachment called the Time Machine. You can read more about the differences between the two models on MiNT’s official site.
Time Machine
It’s a pretty common occurrence — I pull out my Polaroid camera in public and someone’s eyes go wide, “Wow! I had one of those when I was a kid, they still make film for that?” These days even seasoned Polaroid shooters look at my camera with intrigue, wondering what the little dial on top of my camera is. That, my friends, is my Time Machine!
Without this key ingredient, the SLR670m is just an SX70 dressed up in goth clothes that can also use 600 type film. But when attached to the hot shoe I’m able to harness more control over my exposures and dial in the exact amount of time I want the shutter to be open. No more futzing with that incredibly scientific lighten/darken wheel we all know and love to hate.
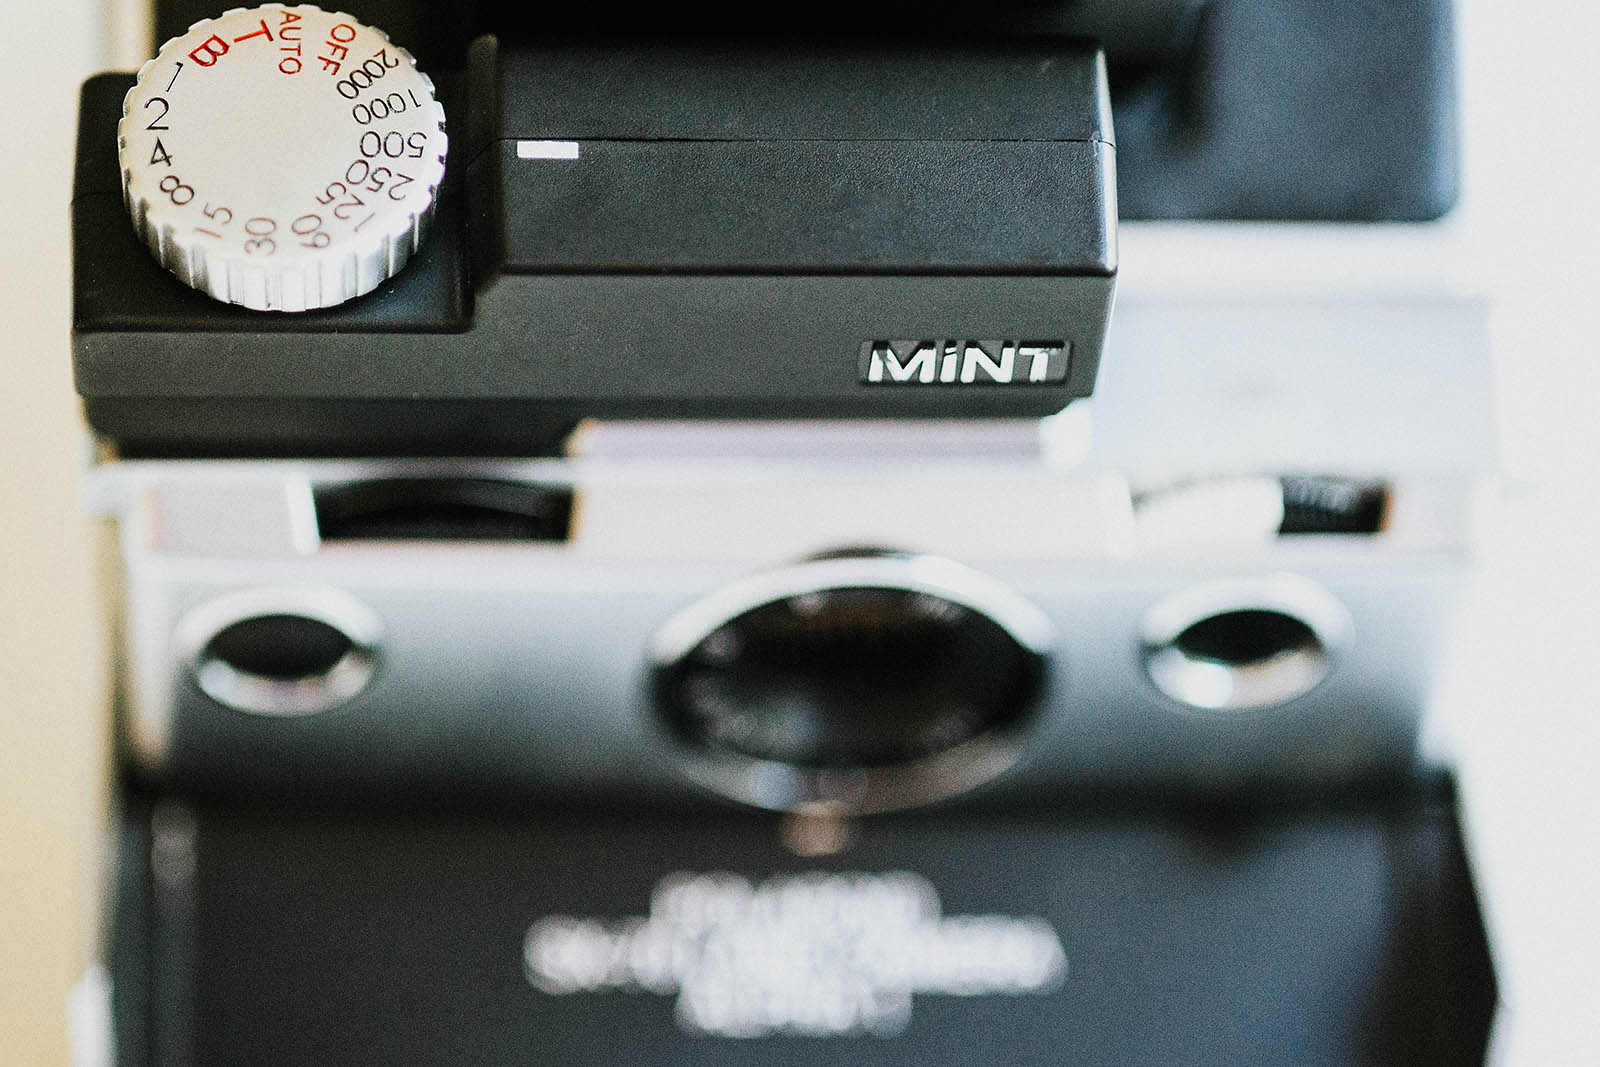
Anyone whose owned an analog camera will be in familiar territory here. The dial on the Time Machine represents shutter speeds in fractions of a second. The SLR670m can be set to anywhere from 1/2000 to 1 second, with additional B, T, Auto and Off settings.
B is for Bulb, just like on other SLRs, and the shutter will stay open for as long as you are holding the shutter button down.
Auto will ignore the Time Machine and use the internal processor to determine exposure. A nice setting to have if you don’t have a lot of time to set up your shot, though admittedly I haven’t shot in this mode once yet. I mean, the whole point of the Time Machine is harnessing the manual magic, right?
Off will apparently make it so no pictures are taken, even if you press the shutter button, but I haven’t had the guts to test that one out, either. ;)
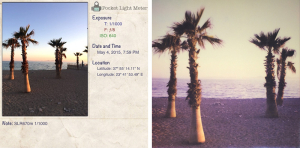
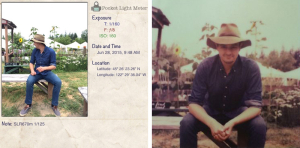
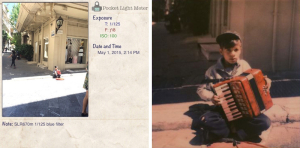
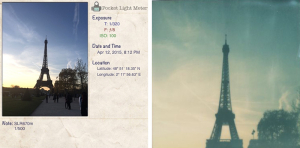
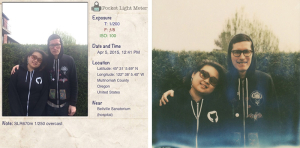
Finally, while you may have been holding your breath hoping T would be for Self-Timer, it actually is for Time Mode where you press the shutter button once to begin exposing, then again to stop and eject your work of art. This is handy for night stalkers armed with a tripod, or people like me who don’t mind making a spectacle of oneself in a crowded bar. The images below were taken in T mode with exposures ranging from 1 to 5 seconds.

Exposure Accuracy
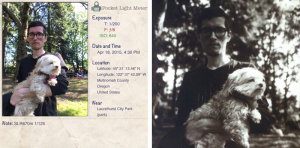
I’m a huge fan of the Pocket Light Meter app for iOS and thought it would be a perfect companion to test the SLR670m’s accuracy. In the last 3 months I’ve run somewhere around 20 packs of film through the SLR670m, and the Time Machine has been absolutely on point.
For the most part, Impossible Films have shown a certain degree of latitude I wasn’t expecting, which is helpful when my light meter gives a reading between shutter speeds, forcing me to decide whether I should over or under expose. Though I am curious, I haven’t done any true bracketing — perhaps if someone wants to sponsor that adventure I’d dive in, but at $3 a pop I’ll stick to real world testing. ;)
That’s not to say I haven’t had my share of duds, but it’s never been at the fault of the SLR670m. Truth be told, it’s the film itself that’s sometimes the X factor.
Getting to know your film stock is certainly one of the cornerstones of being a successful instant shooter, and while my frustrations didn’t vanish the second I picked up an SLR670m, at least I knew a faulty camera wasn’t the source. For example, I noticed a lot of my SX70 film that was out of date had shifted to be closer to ISO 300 than 160, leading to blown out images, or that the Gen 2.0 B&W film could use a notch or two of overexposure. But that’s the beauty of this camera — once you pin down the finer details, just dial in those settings and you’re good to go.
Having said that, I just finished up my first pack of the Gen 2.0 Beta Color Film (600 type) and every single frame was a winner. The SLR670m could not have been delivered to us at a better time. This is a match made in Heaven and bolsters my confidence and excitement for not only this camera, but the Impossible Project as well.

Two Cameras in One
You may have noticed on some of the sample meter readings I’ve exposed for ISO 640 as well as 160. That’s because these new models from MiNT are capable of taking both types of film without the need for a Neutral Density filter. As a camera hoarder, this was one of the most alluring aspects of the SLR670m. I’ve long been tortured by outdoor adventures where I had to lug an SX70 and SLR680 with me to account for all the possible lighting situations. Now I just have one Polaroid camera that comes along with me… Well, okay, two — a girl’s gotta have her Spectra. :)
Pitfalls
It goes without saying that I’m head over heels in love with this camera, but there are a few minor setbacks. For starters, the price point isn’t exactly affordable. I picked mine up for $530 USD and vowed to clear out the camera closet to compensate for the splurge (anyone want an RZ67?), but I imagine most will be waiting until some used ones start cropping up.
And for this price, you’d think a camera armed to the teeth with awesome features would be capable of double exposures. It’s one of the questions friends ask me the most but unfortunately there isn’t a mode for that. Someday!
You also can’t use a flash with the Time Machine since both require use of the hot shoe, which is only a slight bummer until you realize all the long exposure possibilities at your fingertips.
Most notably though, while being touted as a fully manual SX70, that isn’t exactly true with a fixed f/8 aperture when the Time Machine is in use. For bokeh junkies this might not seem like a huge deal, but after some real world shooting I quickly realized this hamstrings the usefulness of 600 type film. I got stuck with some fast film in my SLR670m on a couple occasions where there wasn’t a cloud in the sky and had to sacrifice a frame and switch out to SX70 film. Only after ruining a few other shots seeing what I could get away with, of course — which wasn’t much at all.

Final Thoughts
While not perfect in every possible way, this camera comes mighty close. I’ve barely glanced at my other Polaroid cameras since purchasing an SLR670m back in March. In the past I felt Impossible Project film was too inconsistent for anything more than personal work, but with the SLR670m and newest beta color film by my side I could actually see myself shooting Polaroids at weddings or portrait sessions. Once Impossible officially releases their Gen 2.0 Color Film it’s going to be a whole new ball game out there.
For the casual shooter the price tag will be the deciding factor, but for serious shooters who have $600 to spare, mark my words: You need this camera.
I hope you enjoyed this review! If you’d like to keep up with my adventures with the SLR670m, feel free to view some of my latest Polaroids on the Impossible Project Gallery or follow my film-only Instagram.
Disclosure: I was not compensated for this post, although some links in those post are affiliate links. All opinions are my own. All images are iPhone scans and don’t fully reflect the image quality of Impossible Project films.




Great article, lovely pictures. The magic shines! just order the Slr670-s after coveting it for a while. Hopefully you enjoy the direction the film has gone being a few years on…